Description
The MQTT Publish Action Component allows you to publish messages to topics within an MQTT PubSub system.
| Output Payload | Explanation |
|---|---|
cv.Payload | Outputs the output payload of the previous component as is. (Pass through) |
Component Properties
| Name | Required | Description |
|---|---|---|
| Topic | True | MQTT Topic |
| ClientId | True | MQTT ClientID |
| QoS | True | QoS value |
| Retain | True | Retain flag |
| Timeout | True | Timeout (ms) |
| MQTT Connection | False | MQTT Connection Settings from the Base Property Profile |
| URL | True | URL, note, leave the protocol out for unencrypted connections (e.g. test.mosquitto.org) but add ssl:// for encrypted connections |
| Port | True | Port |
| Username | False | Username |
| Password | False | Password |
| Certificate | False | Certificate |
| Private Key | False | Private Key |
| Private Key Passphrase | False | Private Key Passphrase |
| Root CA | False | Root CA |
test.mosquitto.org Example
You can easily test the MQTT function by using the free public "test broker provided by mosquito.org":http://test.mosquitto.org. A sample setup could be that you use the free "MQTTX":https://mqttx.app/ client alongside with Gravio using the following details:
| Topic | testtopic/gravio |
|---|---|
| Client ID | Choose something Unique for Gravio and something different for MQTTX |
| QoS | 0 |
| Timeout | 60000 |
| URL | test.mosquitto.org |
| Port | 1883 |
| Username | _blank_ |
| Password | _blank_ |
| Certificate | _blank_ |
| Private Key | _blank_ |
| Private Key Passphrase | _blank_ |
| Root CA | _blank_ |
Then set the contents to cv.Payload = {"msg": "your test message"}
Triggering the action from Gravio Studio:
You should see something similar to the following in MQTTX:
Note: Ensure that both, MQTTX and Gravio have different Client IDs as the MQTT broker will disconnect the clients if they share the same ID.
Google Cloud MQTT Example
Here is an example of how to publish messages to a Google Cloud MQTT System:
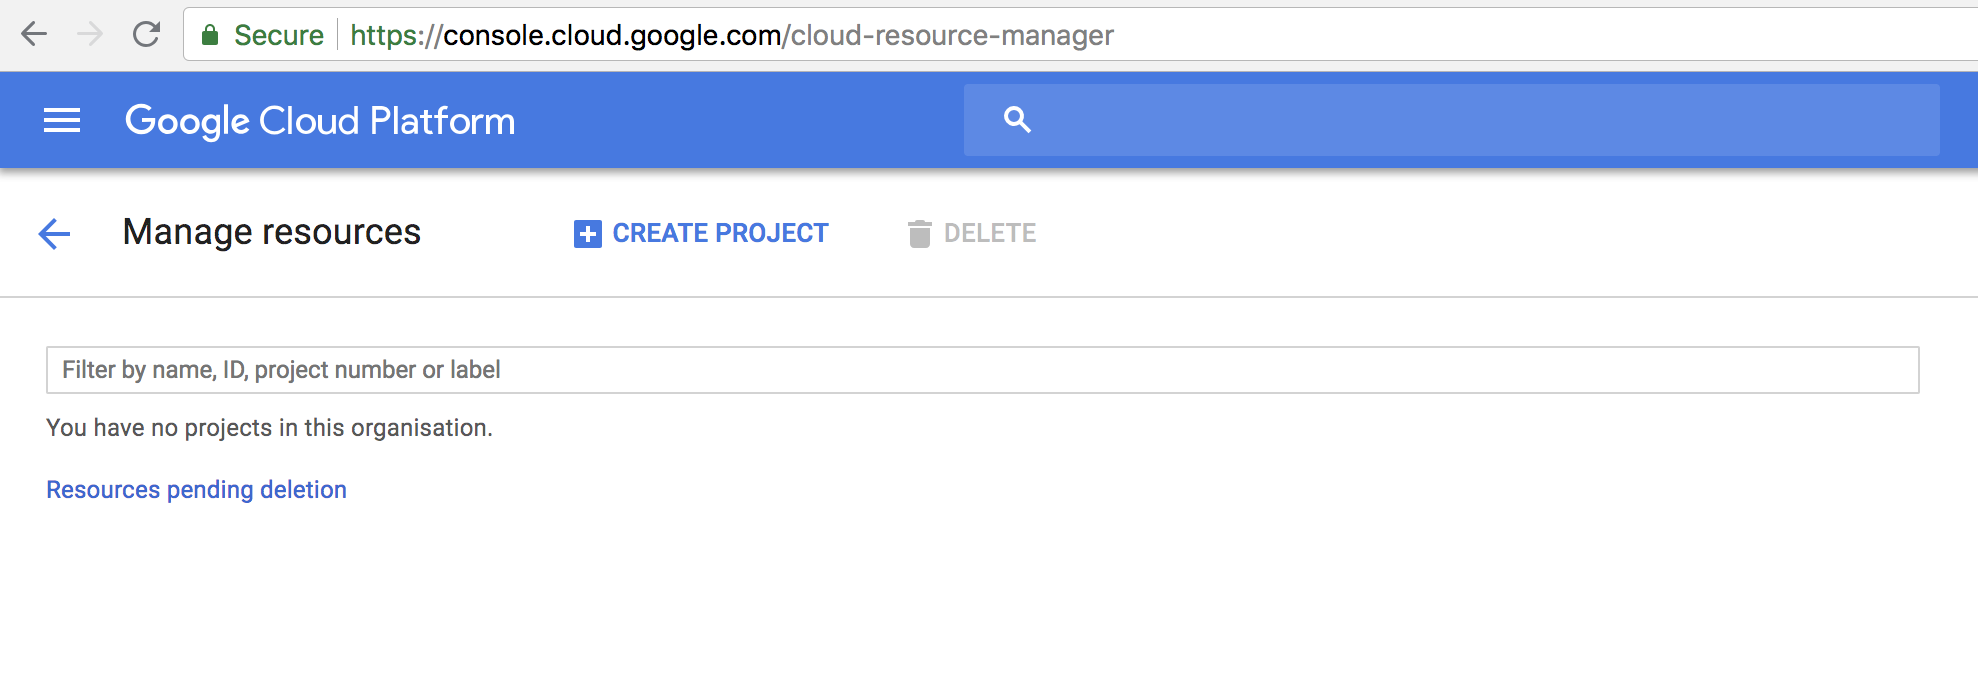
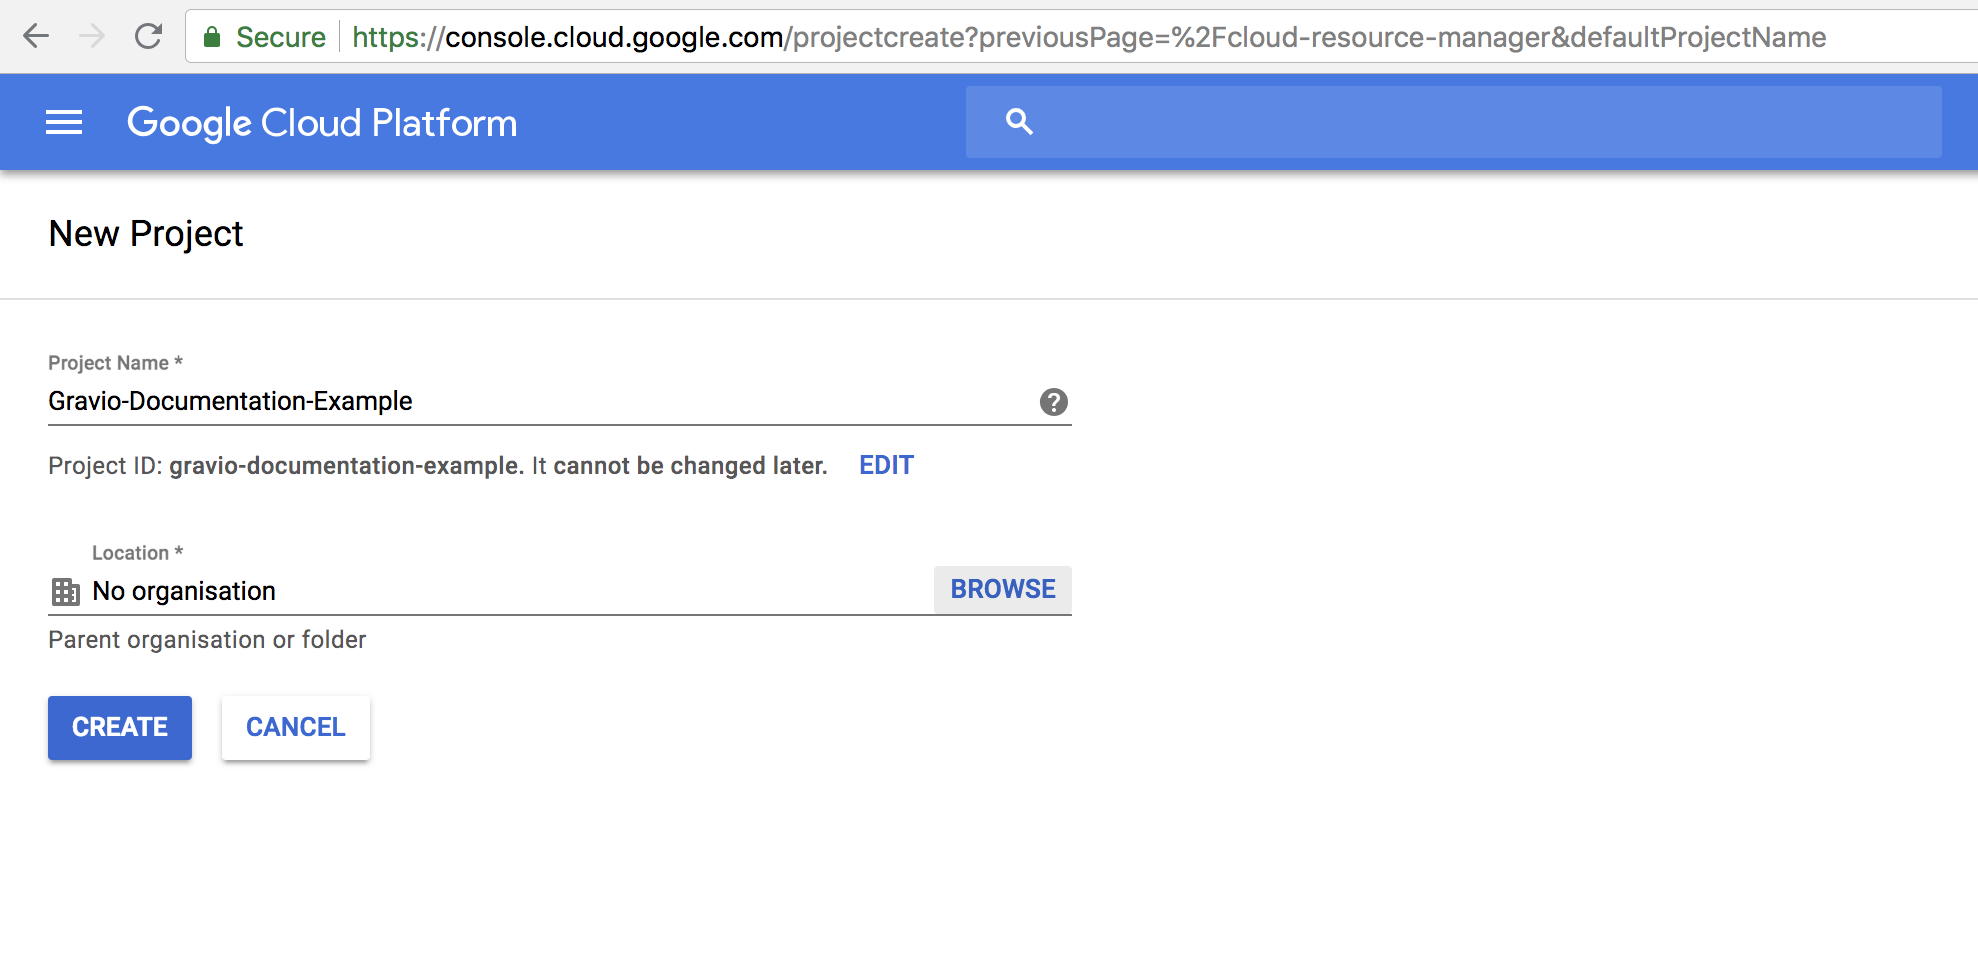
Navigate to your Google Cloud console and create a project:
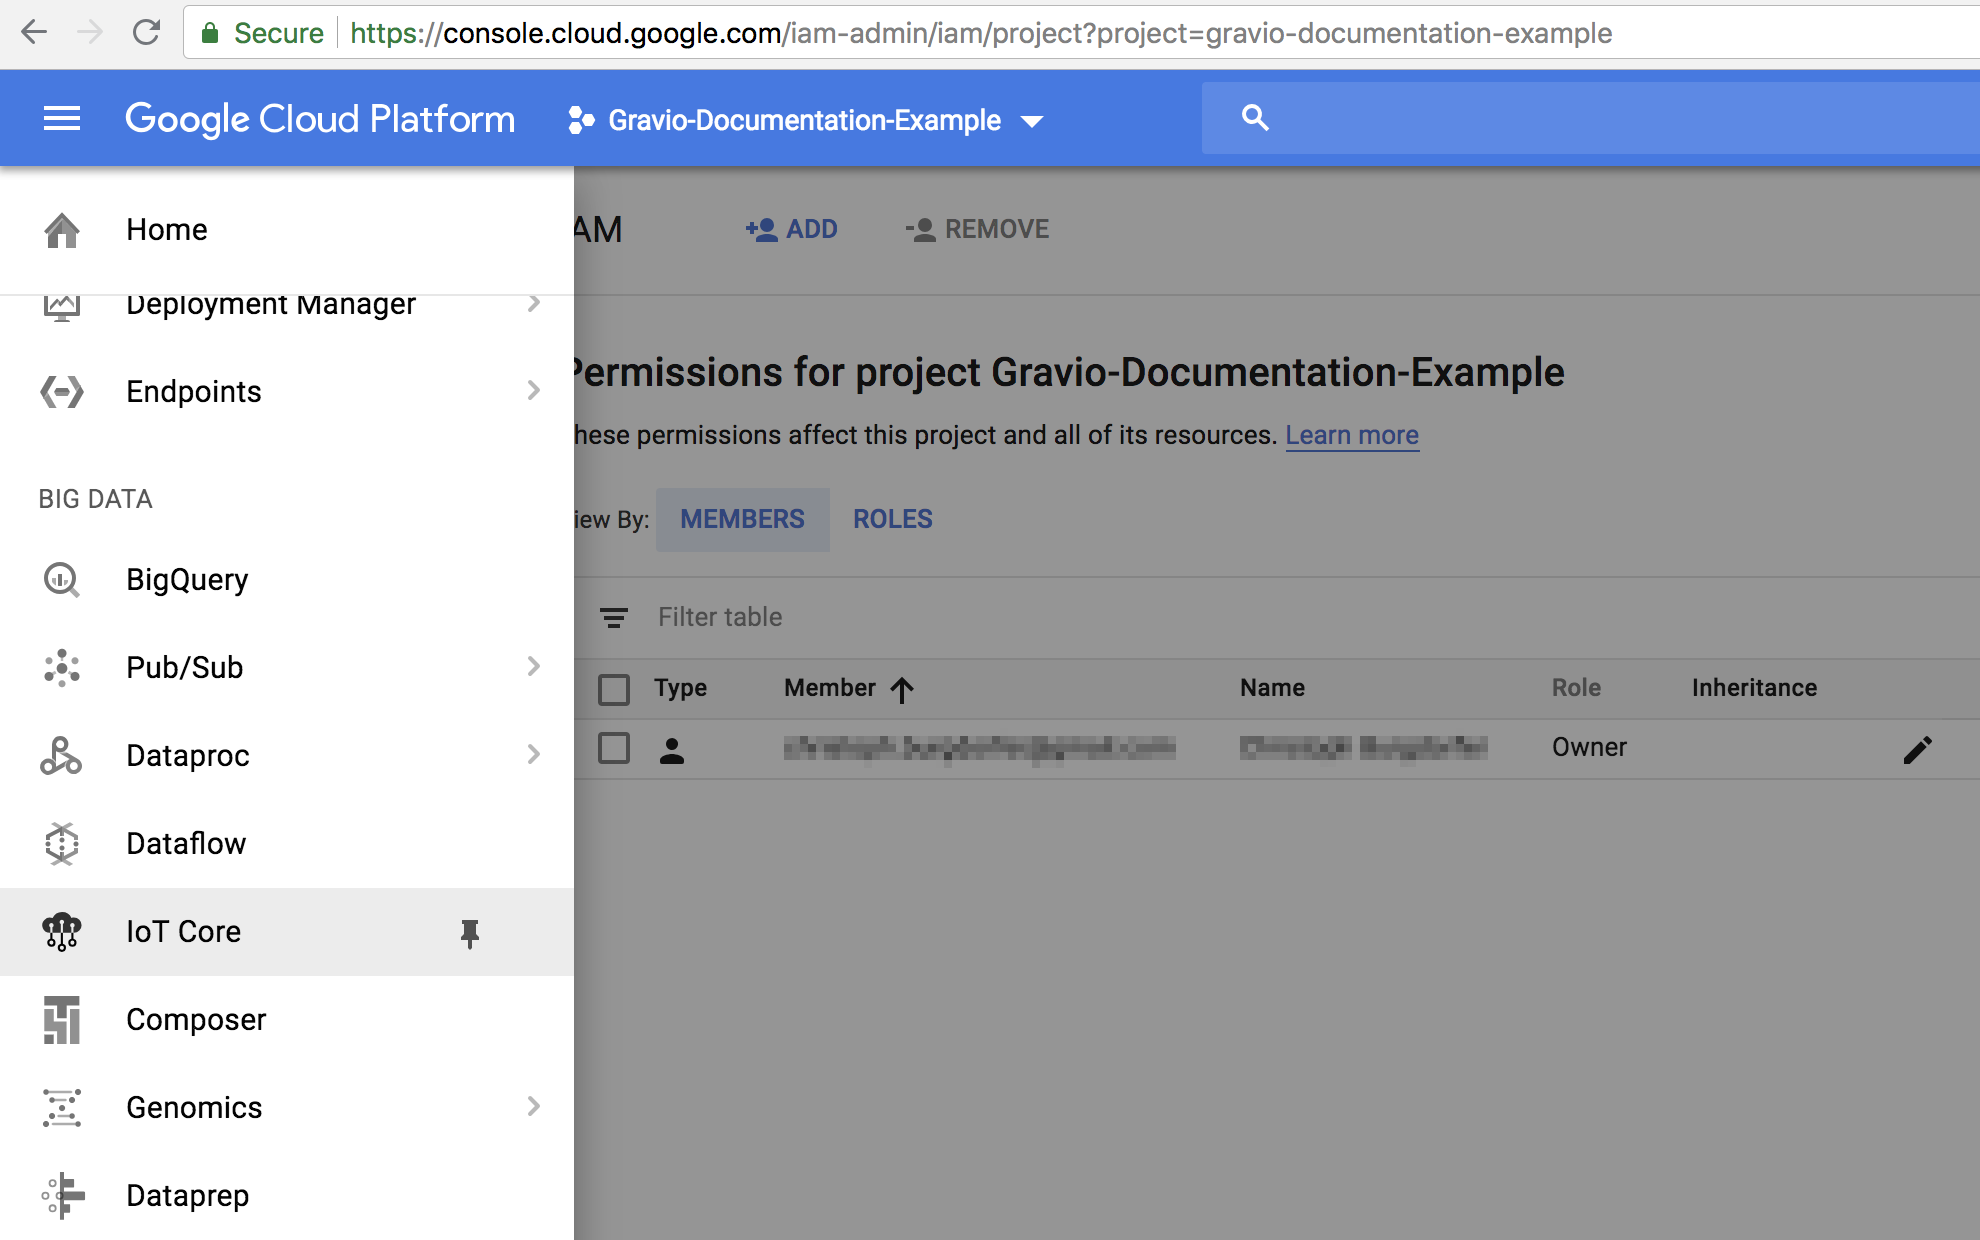
Navigate to Google Cloud Platform IoT Core
Enable the Google IoT Core API.
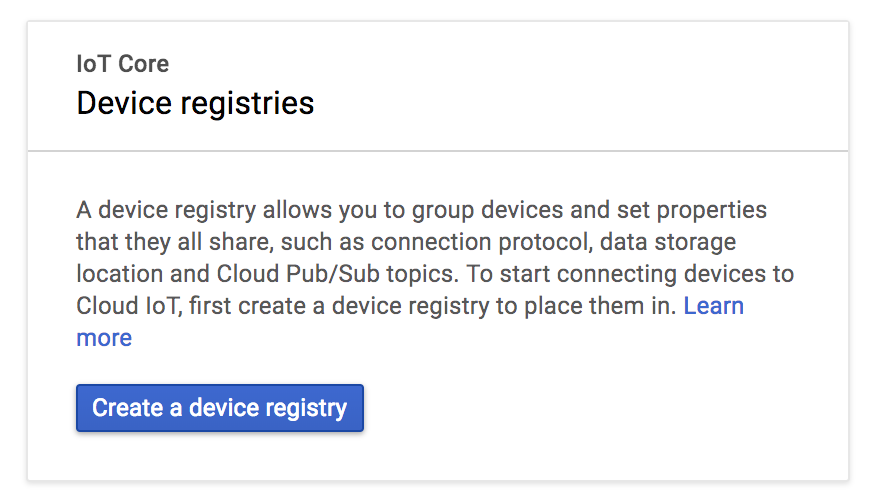
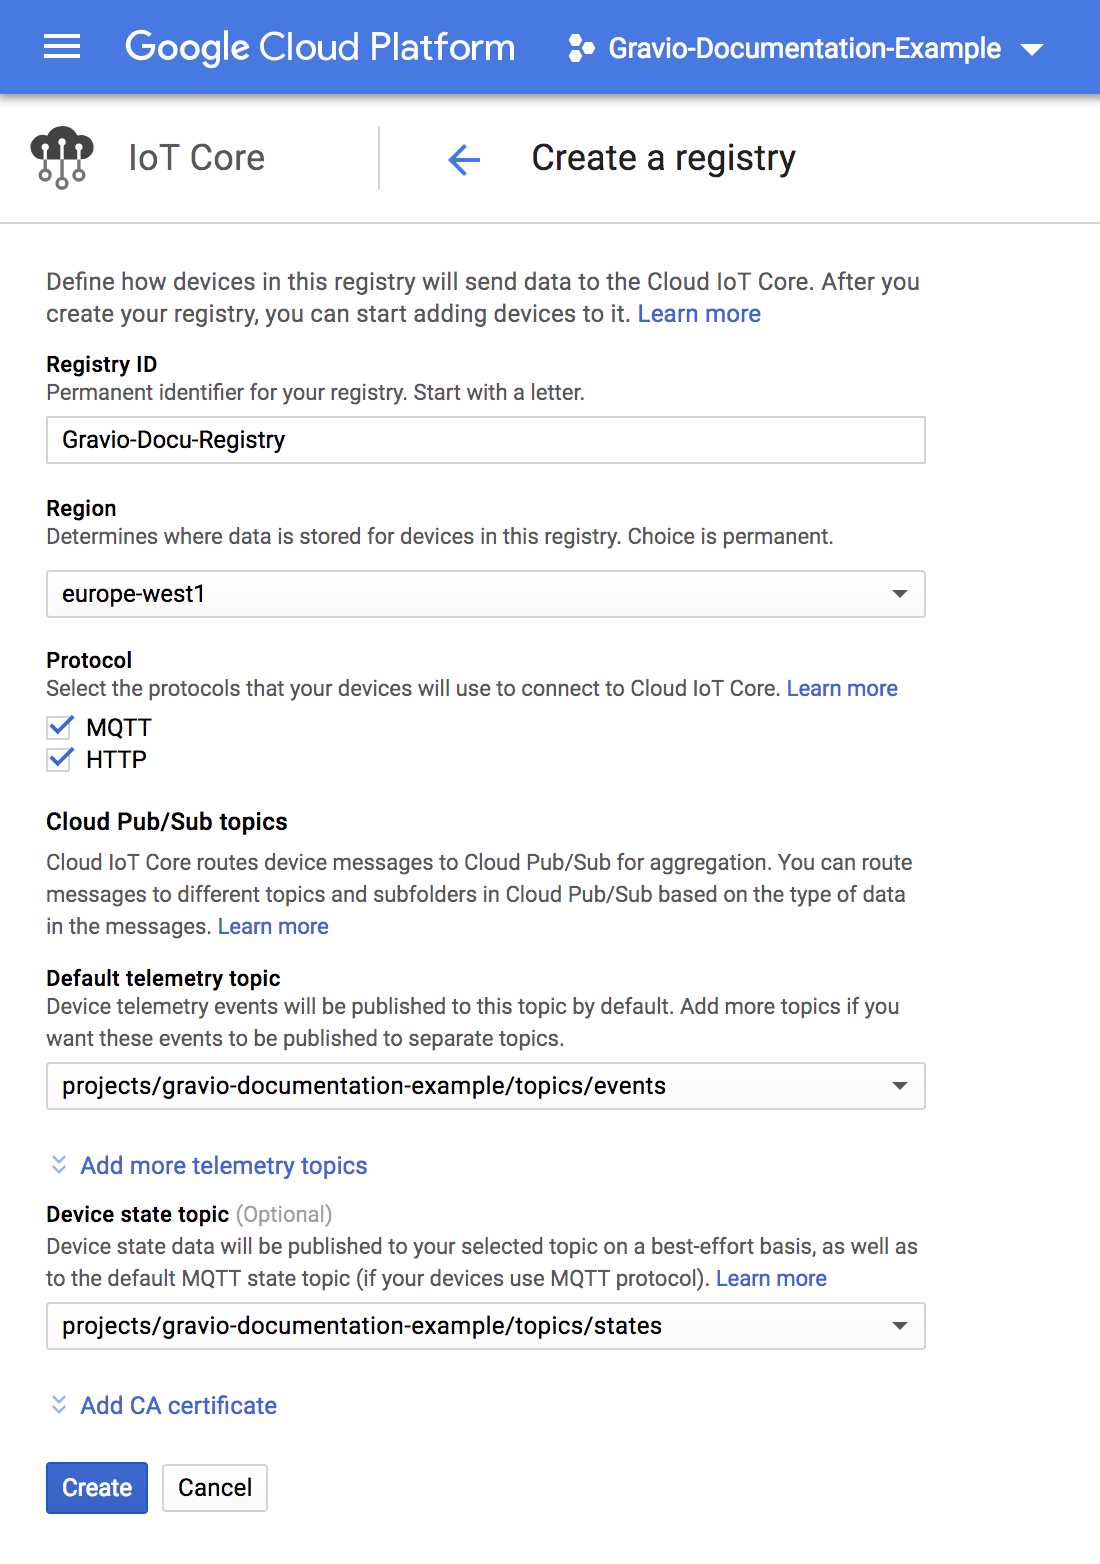
Create a Device Registry
Enter the name of your registry, select the region and add the topics (here events and states for example):
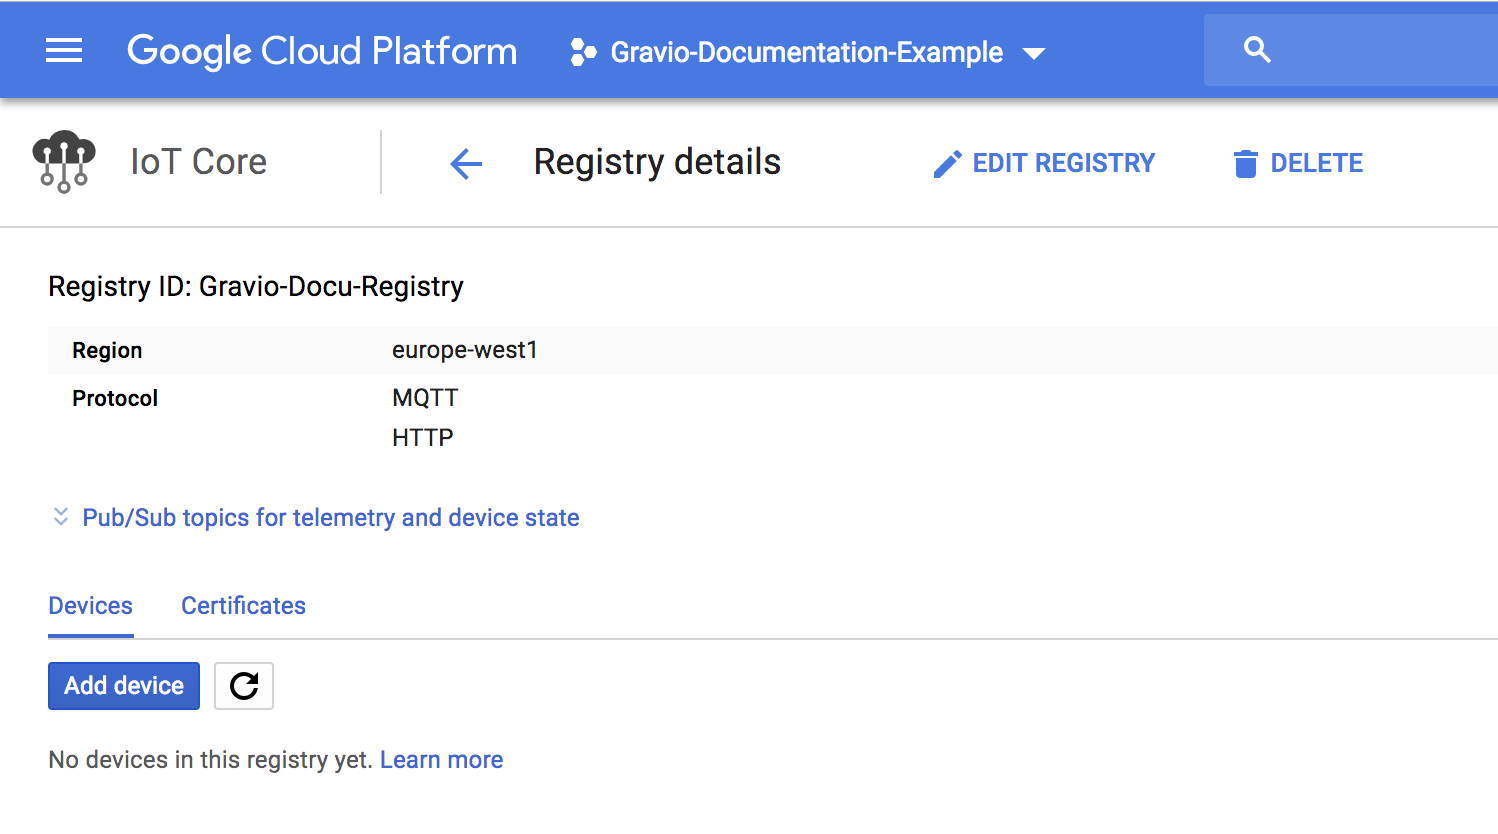
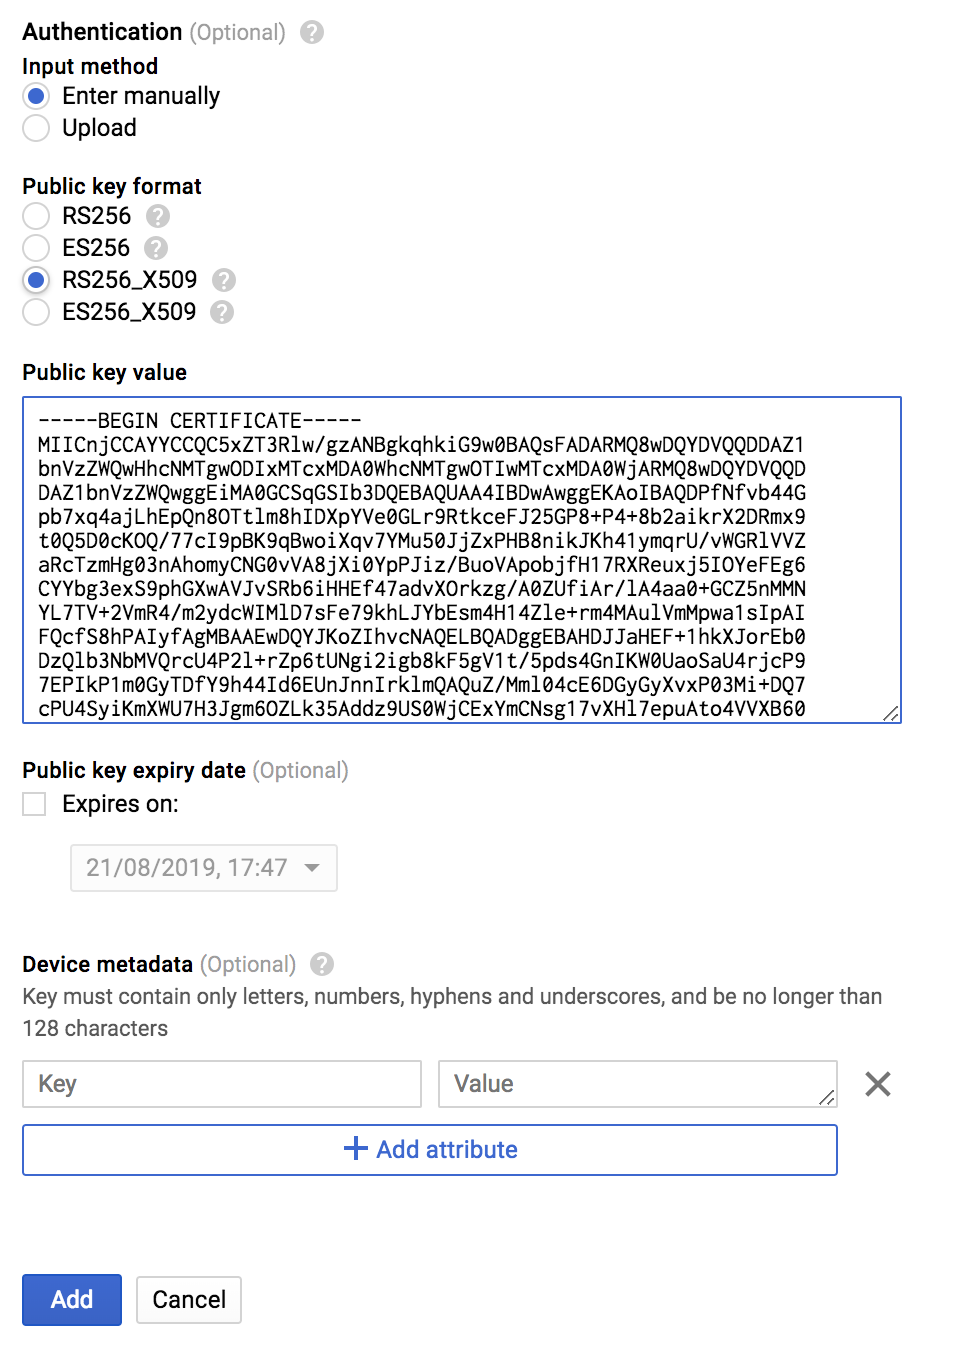
Click on "Add Device" in this screen:
And you will see:
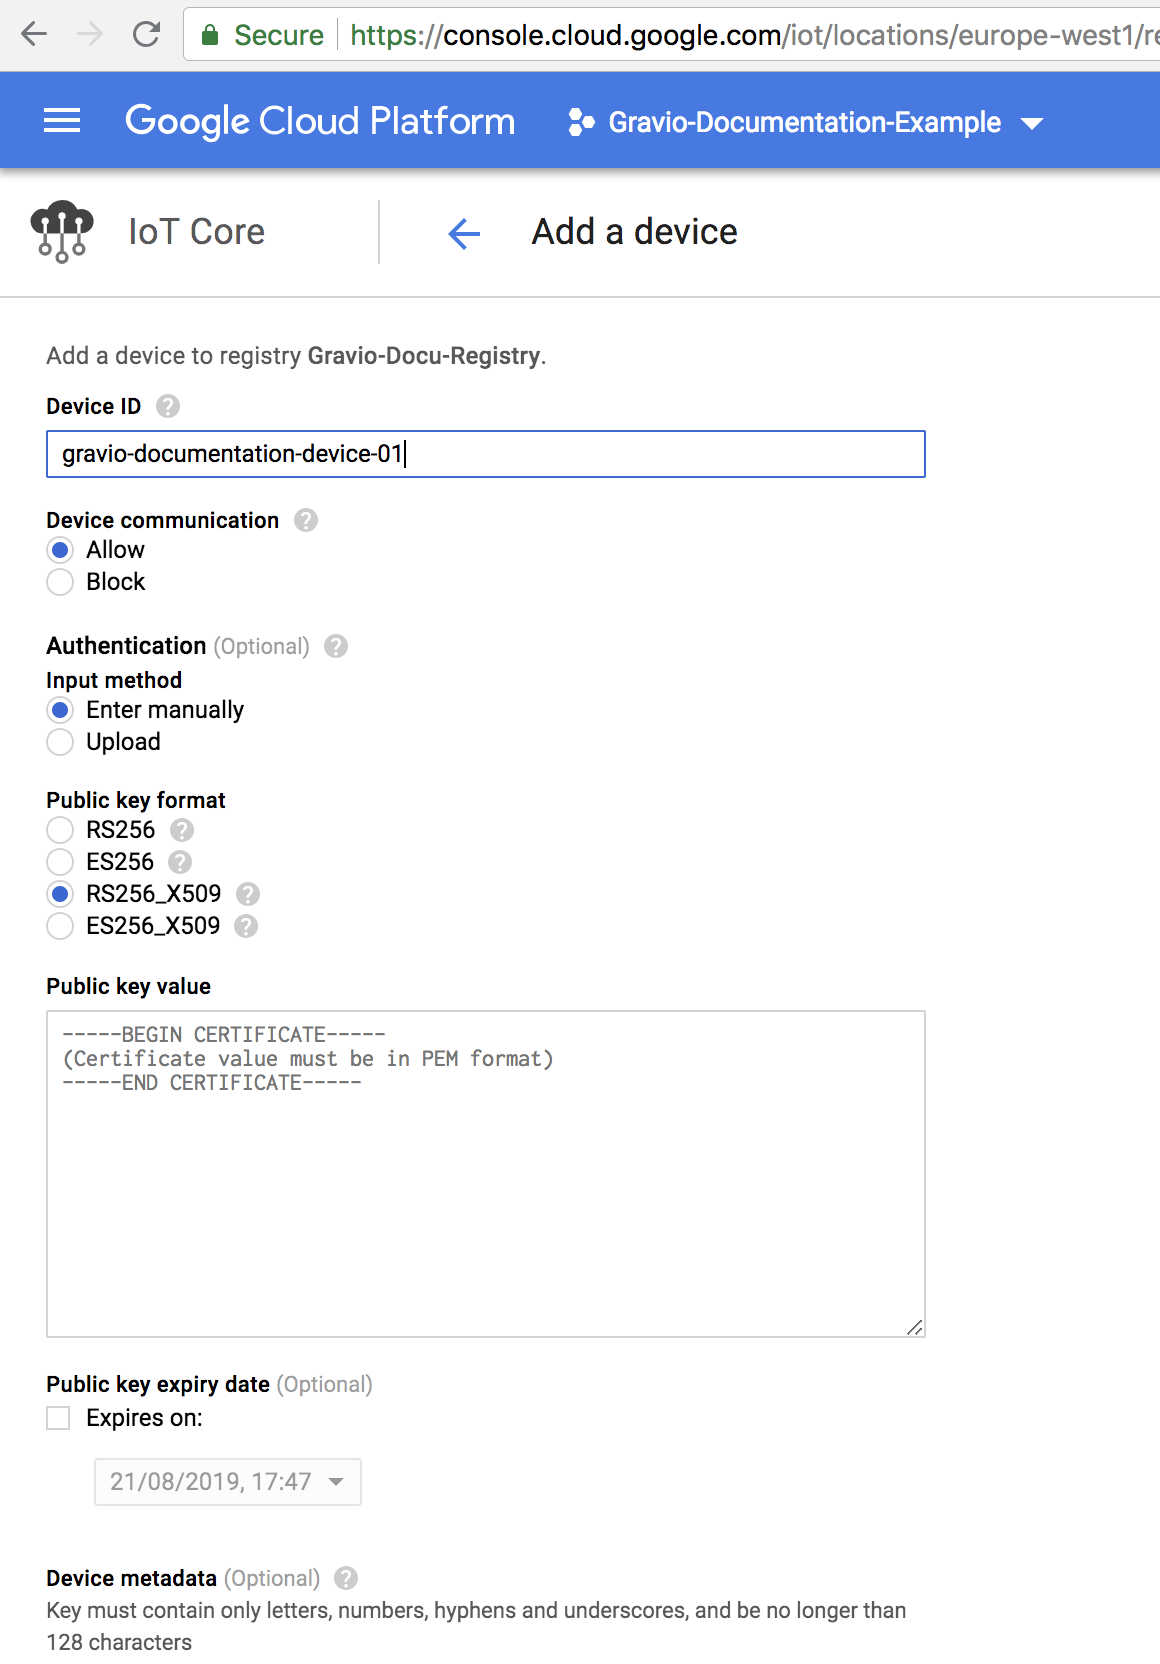
Create a certificate that you can paste into the field by entering this command in your command line:
openssl req -x509 -newkey rsa:2048 -keyout rsa_private.pem -nodes -out rsa_cert.pem -subj "/CN=unused"
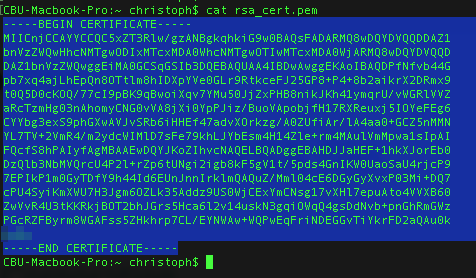
This will create a file rsa_private.pem and a file called rsa_cert.pem
Copy the contents of the rsa_cert.pem file into the window:
We're now ready to take on messages from Gravio.
Note: The MQTT Publish component will take the variables as payload and make one MQTT publish per variable. And if you use JSON or CSV the variable name will be the key/column.
Typically you can use the CreateRecord component to inject a variable into the MQTTPublish component.
To see how to retrieve MQTT messages, please refer to the "MQTT subscription section"MQTT Configuration of this documentation.