Gravio HubKit External Integration Guide
Table of Contents
1. Webhook Integration
Gravio provides functionality to integrate with various external systems. Here, we'll explain how to receive messages from devices using Webhooks.
Webhook Setup Procedure
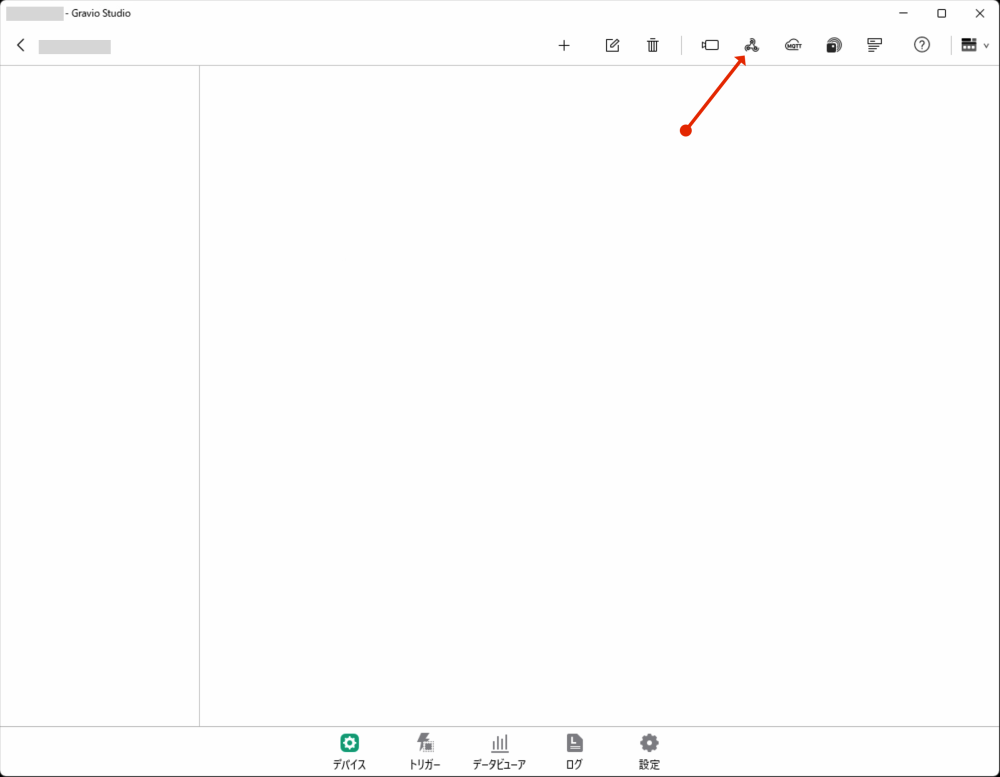
- Click the "Webhook" button to display the settings panel.
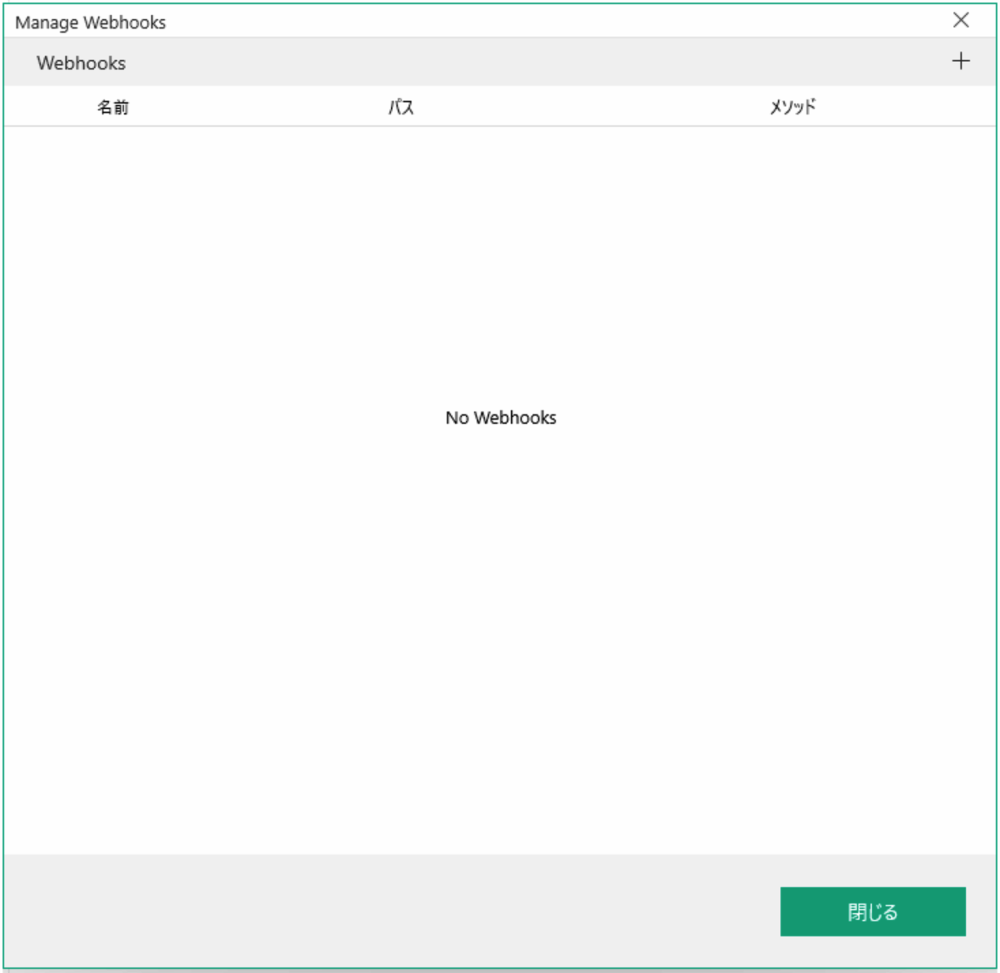
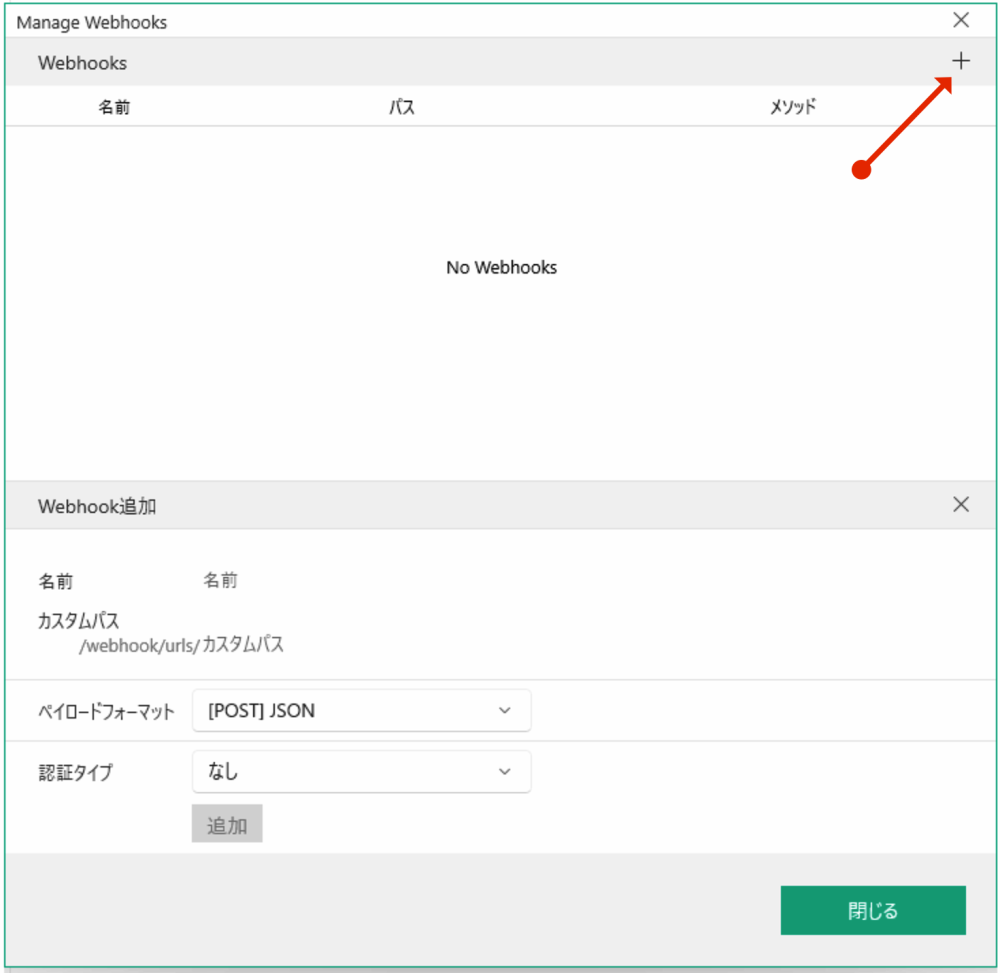
- Register the Webhook URL in the settings panel. Click the "+" button to display the registration panel.
- Enter and save the Webhook information:
- Name: Identifier for the Webhook
- Custom Path: Path string after "/webhook/urls/"
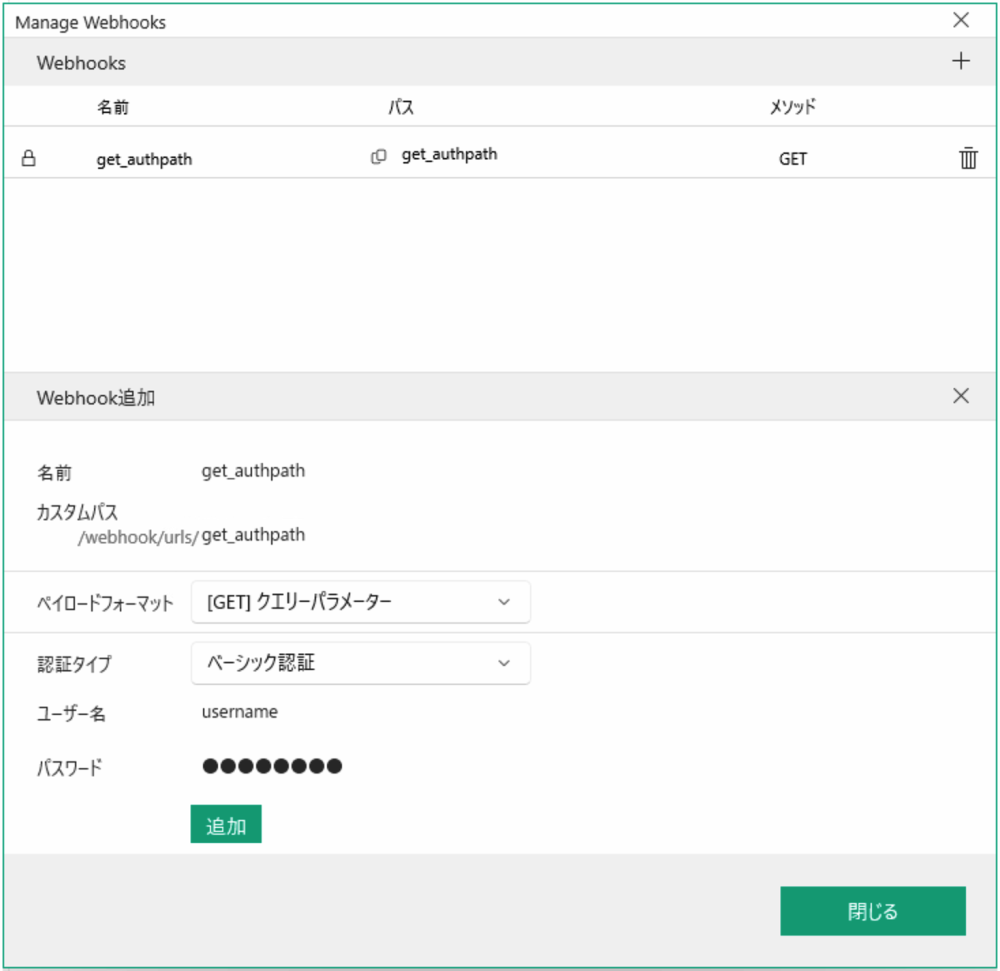
- Payload Format: Select the format of incoming data
- Authentication Type: None or BASIC authentication
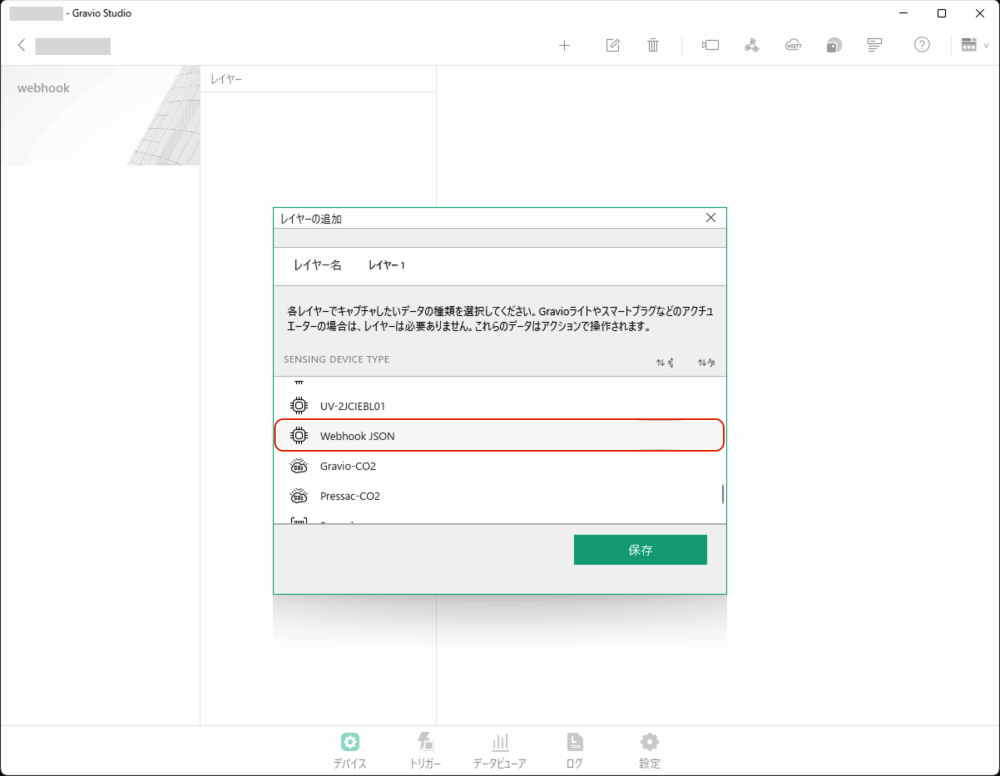
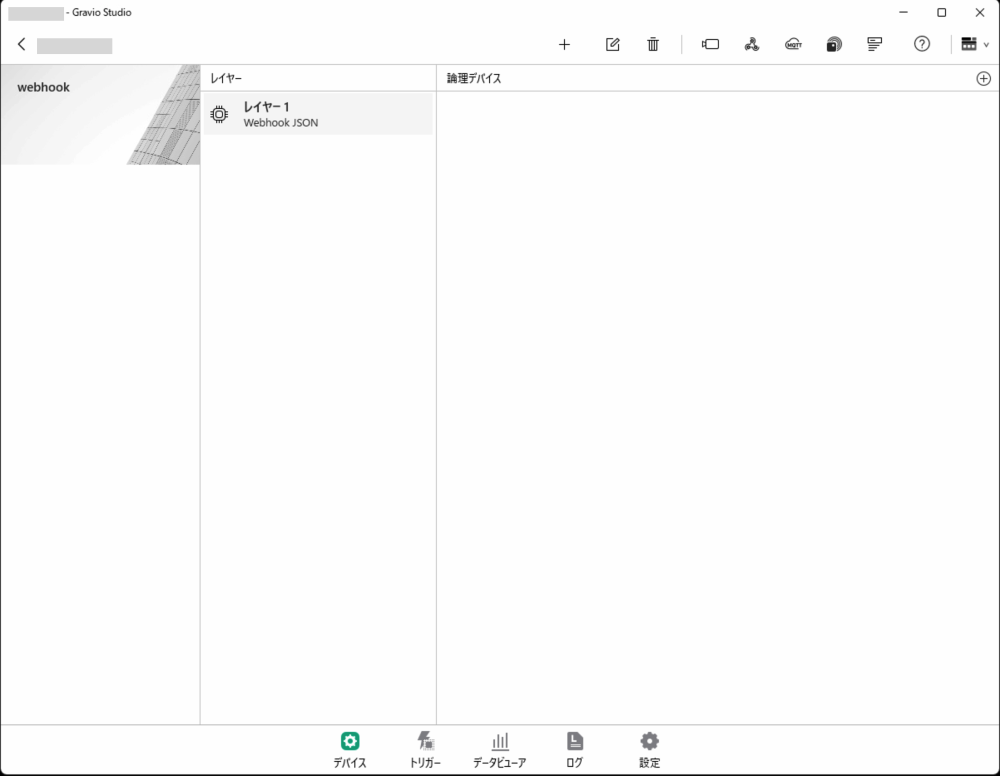
- Create a layer to record Webhook reception as data. Add a Webhook JSON layer to the area you're creating.
- Bind the Webhook logical device to the created layer:
- Add the Webhook created in the registration panel.
- Enable the added Webhook.
Webhook Configuration Details
Custom Path Specifications
| Item | Specification |
|---|---|
| Minimum length | 8 characters |
| Maximum length | 1000 characters |
| Allowed characters | Alphanumeric, hyphen (-), underscore (_), slash (/) |
| Prohibited characters | Spaces, tabs |
Payload Format
| Format | HTTP Method | Description |
|---|---|---|
query-params |
GET | Send data via URL query parameters |
json |
POST | Send data via JSON body |
Authentication Type
| Type | Description |
|---|---|
| None | Webhook accessible without authentication |
| BASIC authentication | Requires username (4+ characters) and password (8+ characters) |
Using Webhooks
Once the Webhook is enabled, you can receive messages from external devices. Received messages can be viewed in the data viewer. You can also set up actions triggered by received messages.
Webhook URL Format
Webhooks can be called using the following URL format:
https://<HubKit Host>/webhook/urls/<Custom Path>
For example, if HubKit's IP address is 192.168.1.100 and the custom path is sensor-data:
https://192.168.1.100/webhook/urls/sensor-data
Usage Examples (curl commands)
JSON format (POST):
curl -k -X POST https://192.168.1.100/webhook/urls/sensor-data \
  -H "Content-Type: application/json" \
  -d '{"temperature": 25.5, "humidity": 60}'
With BASIC authentication:
curl -k -X POST https://192.168.1.100/webhook/urls/sensor-data \
  -u username:password \
  -H "Content-Type: application/json" \
  -d '{"temperature": 25.5, "humidity": 60}'
query-params format (GET):
curl -k "https://192.168.1.100/webhook/urls/sensor-data?temperature=25.5&humidity=60"
Note: The
-koption is required when using self-signed certificates. For production environments, it is recommended to configure proper SSL certificates.
File Reception (binary / media files)
Available in Gravio 6.3.0 and later
In addition to JSON payloads, webhook endpoints can now accept binary files such as images, audio, and video, and persist them on the HubKit. Once stored, the file can be used by triggers and actions like any other incoming data.
File Type Detection
HubKit determines the file type and extension in the following order:
- The
Content-Typerequest header - The extension of the
filenameparameter in theContent-Dispositionheader - The first portion of the request body (up to 3 KB), using mimetype
If none of the above can identify a valid type, the request is rejected with an error.
Storage Path and Filename
Received files are stored on the HubKit using the following layout:
<endpoint-short-id>/<YYYYMMDD>/data-<timestamp>.<ext>
If the request contains a Content-Disposition header with a filename parameter, that value (base name only) is used as the storage name. Characters that are not safe for file names are replaced with _.
Changed in Gravio 6.3.0: Webhook-derived filenames previously used the format
webhook-<id>-<timestamp>.<ext>; they now usedata-<timestamp>.<ext>. If you have actions that reference these filenames, please review the new pattern.
Examples (curl)
Sending a JPEG image:
curl -k -X POST https://192.168.1.100/webhook/urls/sensor-data \
  -H "Content-Type: image/jpeg" \
  --data-binary @photo.jpg
Specifying a filename via Content-Disposition:
curl -k -X POST https://192.168.1.100/webhook/urls/sensor-data \
  -H "Content-Type: image/jpeg" \
  -H 'Content-Disposition: attachment; filename="snapshot.jpg"' \
  --data-binary @photo.jpg
Mismatched HTTP Method Response
Improved in Gravio 6.3.0: When a request uses an HTTP method that does not match the endpoint's payload format (
query-params/json), the error response is now more specific.
2. MQTT Subscriber Integration
Gravio also supports MQTT subscribers. It receives messages sent by MQTT publishers through an MQTT broker by specifying topics.
MQTT Subscriber Setup Procedure
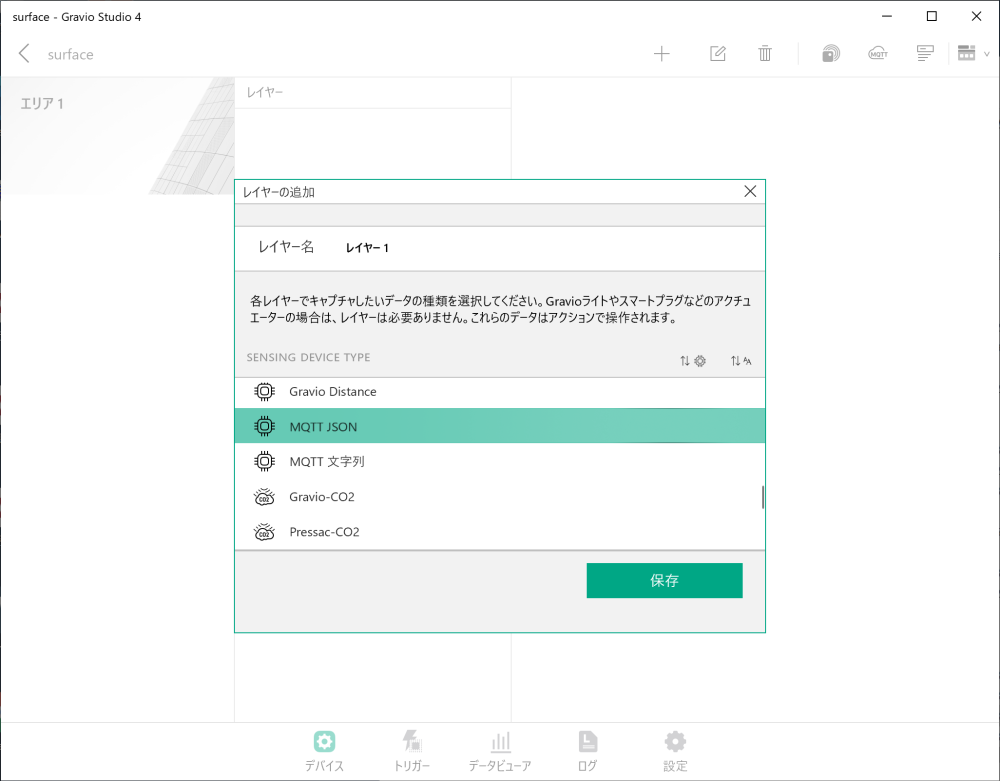
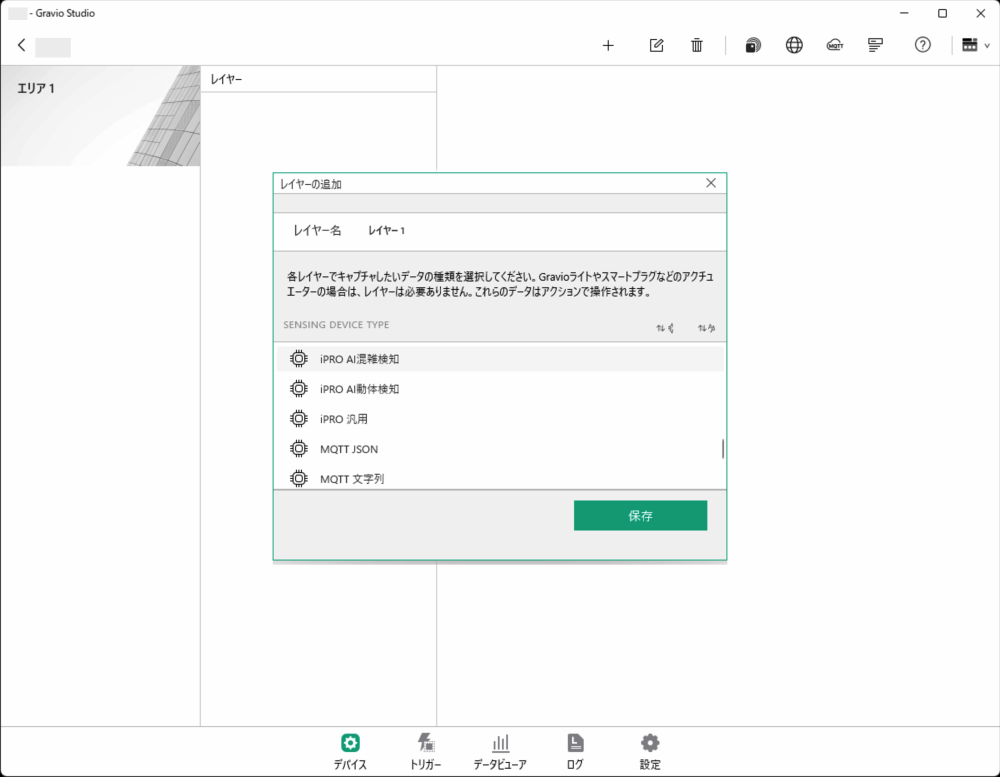
- In "Devices," select the MQTT type (DataKind) to add a new area and layer.
- For MQTT subscribers, choose whether the received data format is JSON or string.
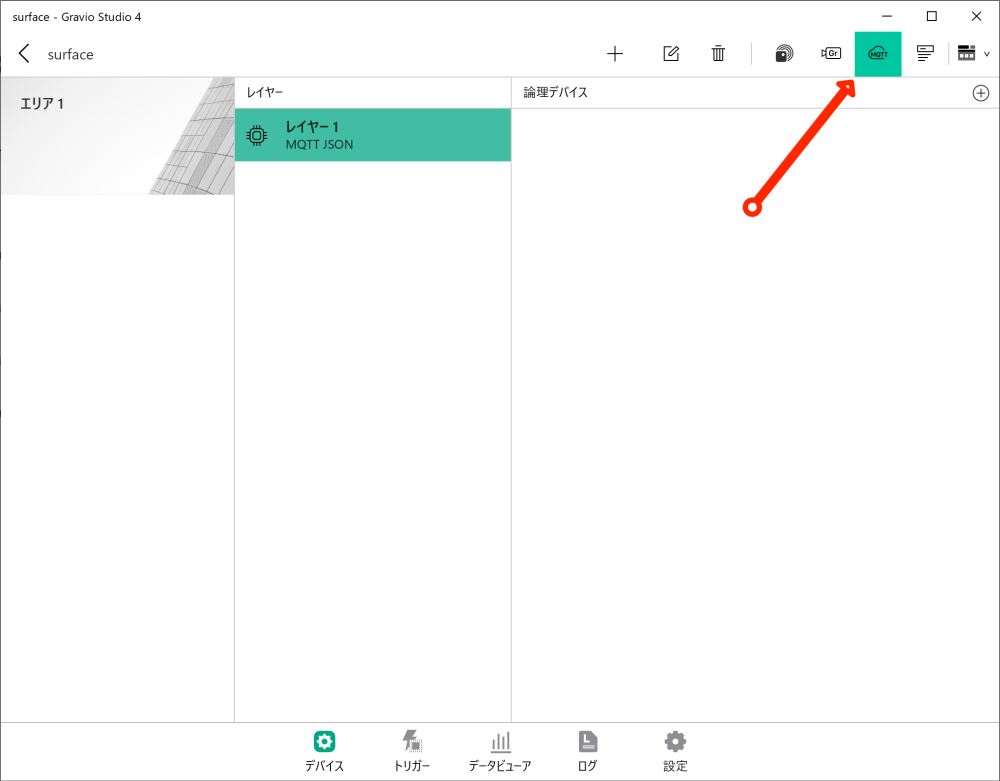
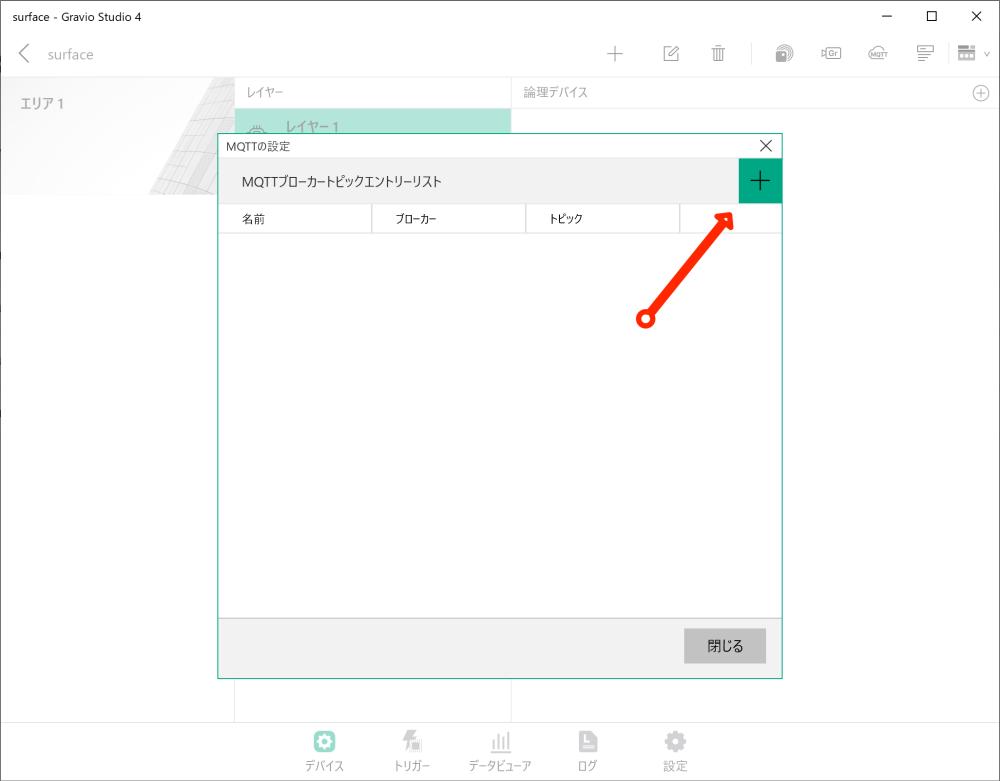
- Click the settings button to display the MQTT subscriber and broker settings screen.
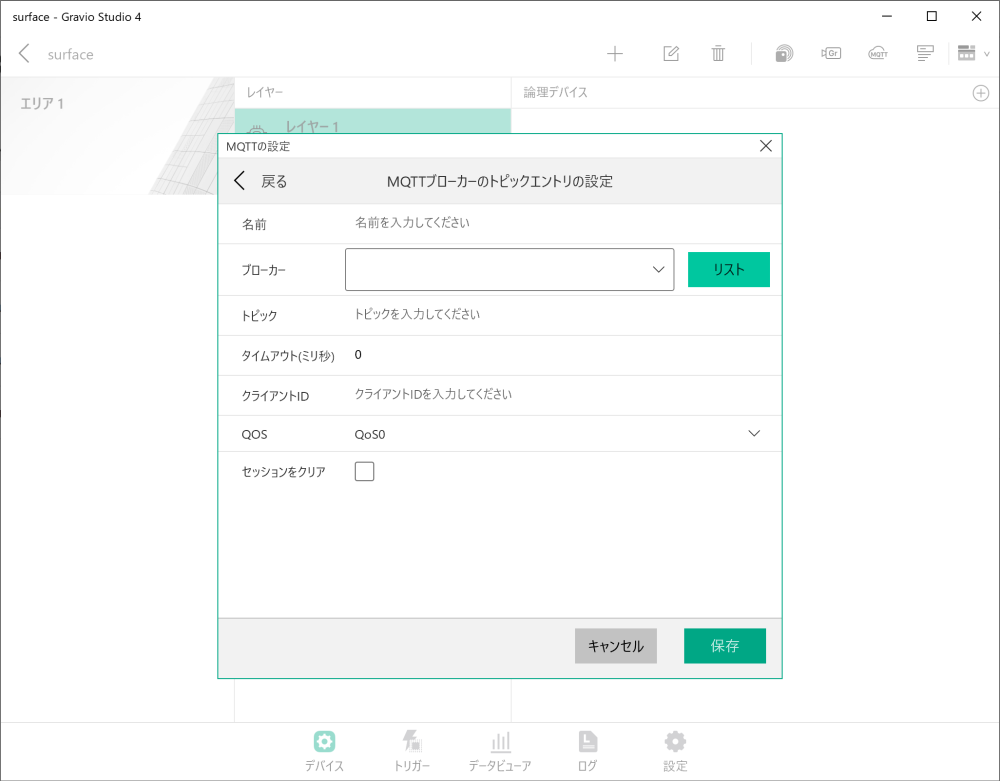
- Click the "+" button to display the topic entry settings screen.
-
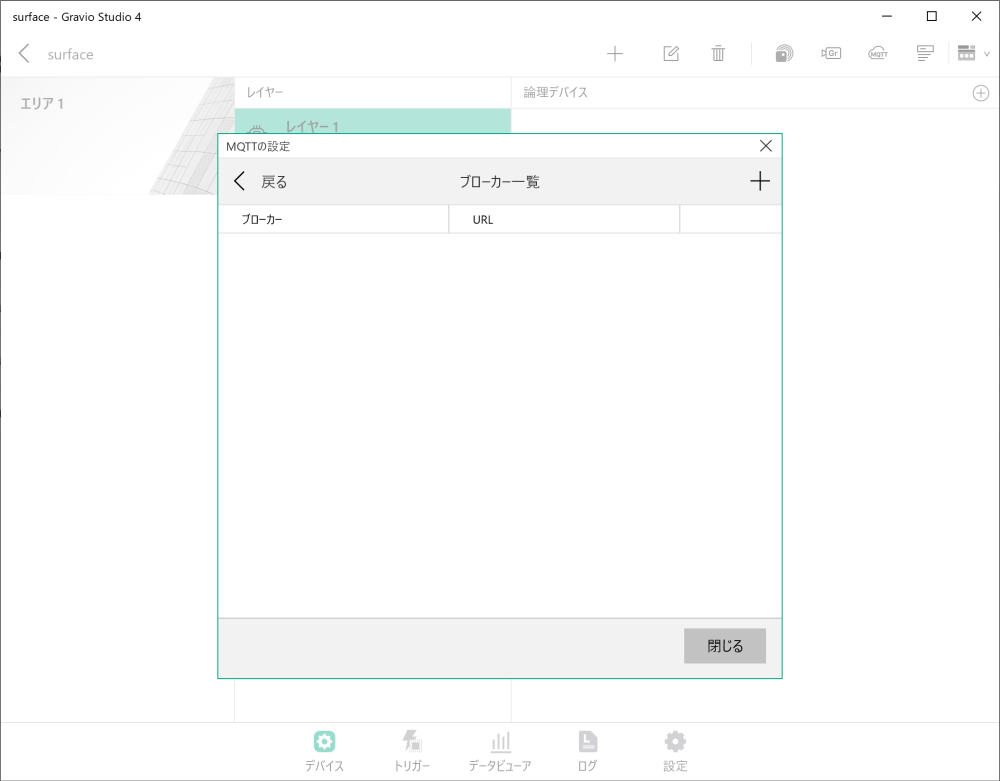
Click the list button to display the broker list screen.
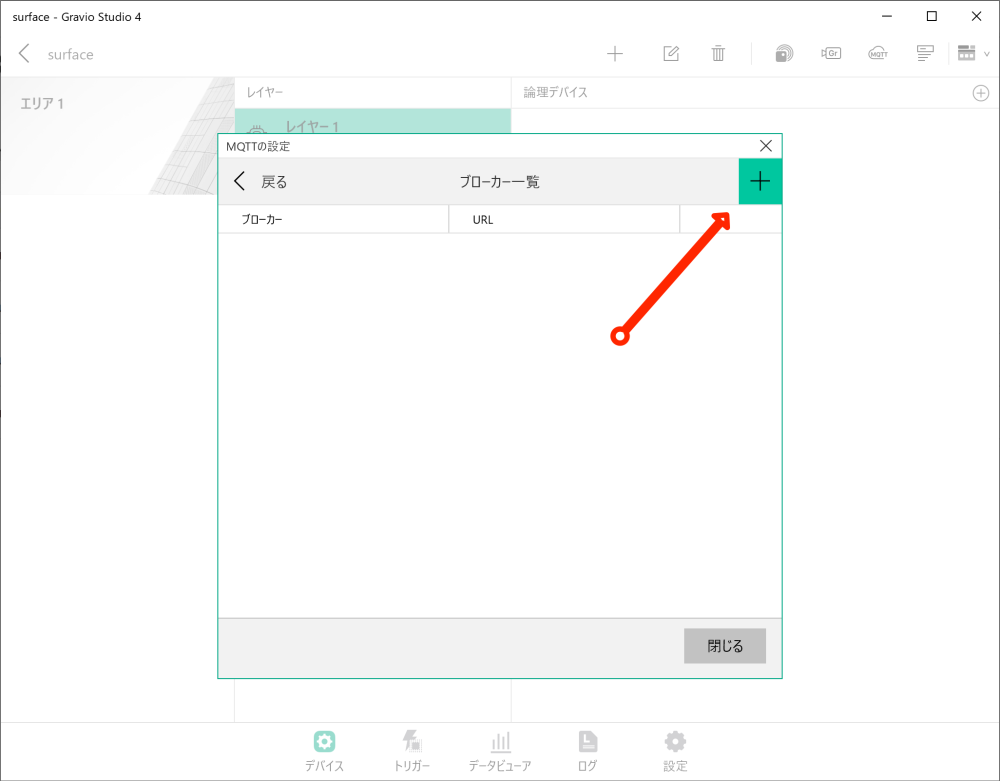
-
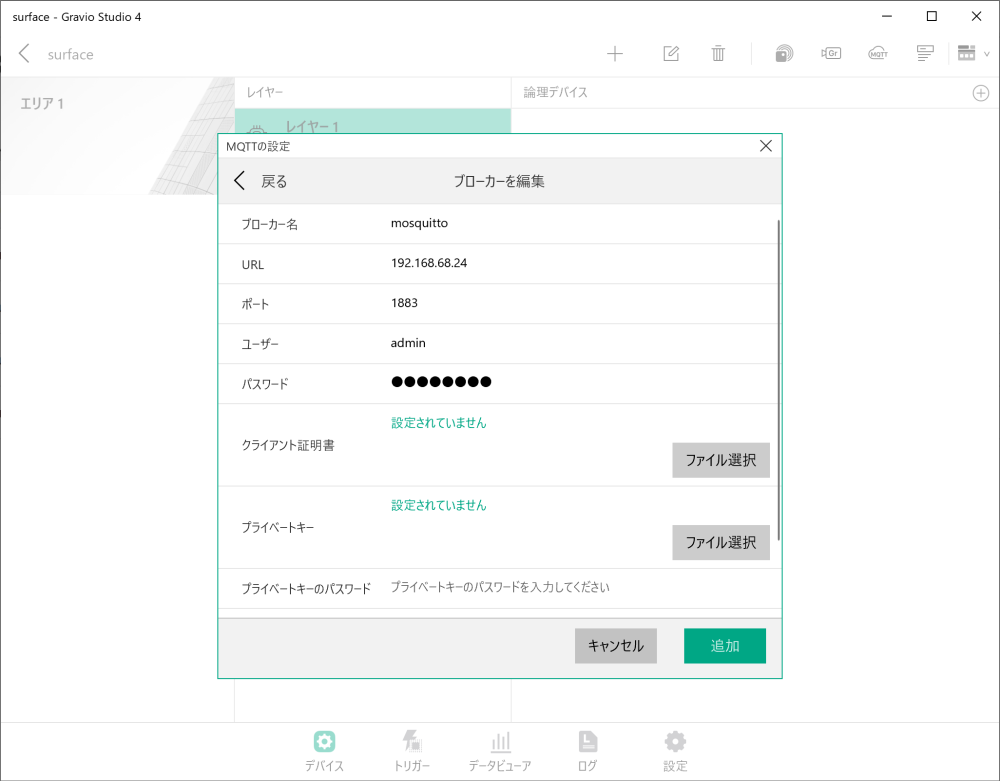
Click the "+" button to display the broker settings screen and enter broker information:
- Name: Broker identifier
- URL: MQTT broker URL
- Port: MQTT broker port number (standard is 1883)
- Authentication: Username, password, etc.
- Enter broker information and click the add button.
- After the added broker information appears in the list, click the "Back" button.
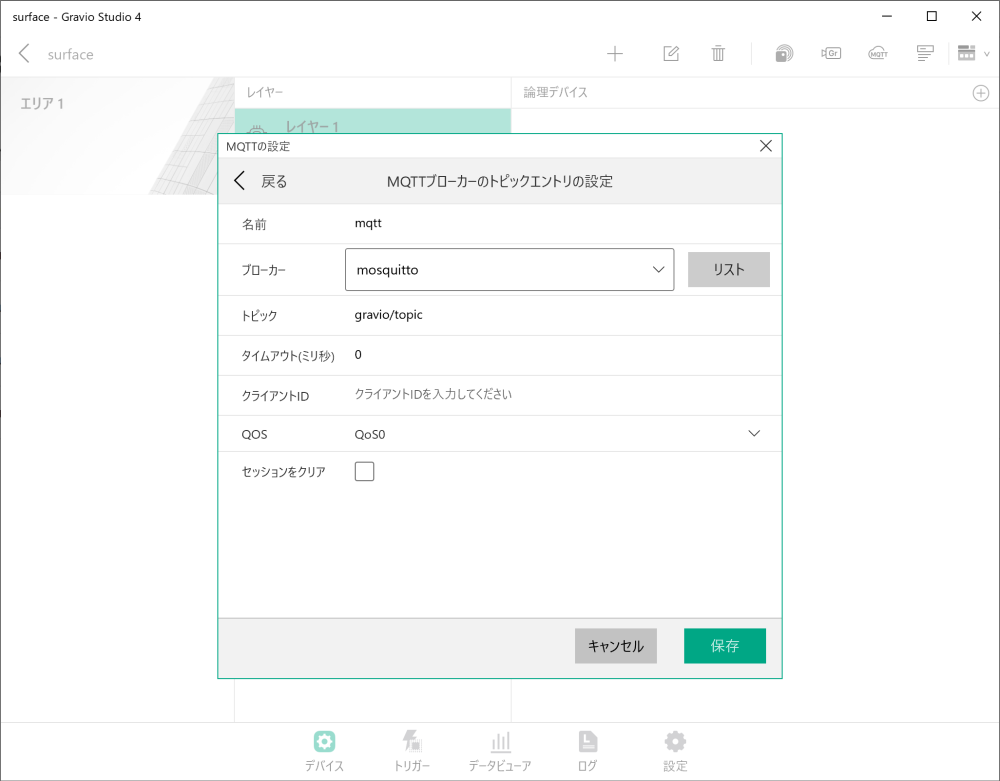
- Enter topic entry information and click save:
- Name: Topic identifier
- Broker: Previously registered broker
- Topic: MQTT topic to subscribe to
- Timeout: Connection timeout period
- QoS: Quality of Service level (0, 1, 2)
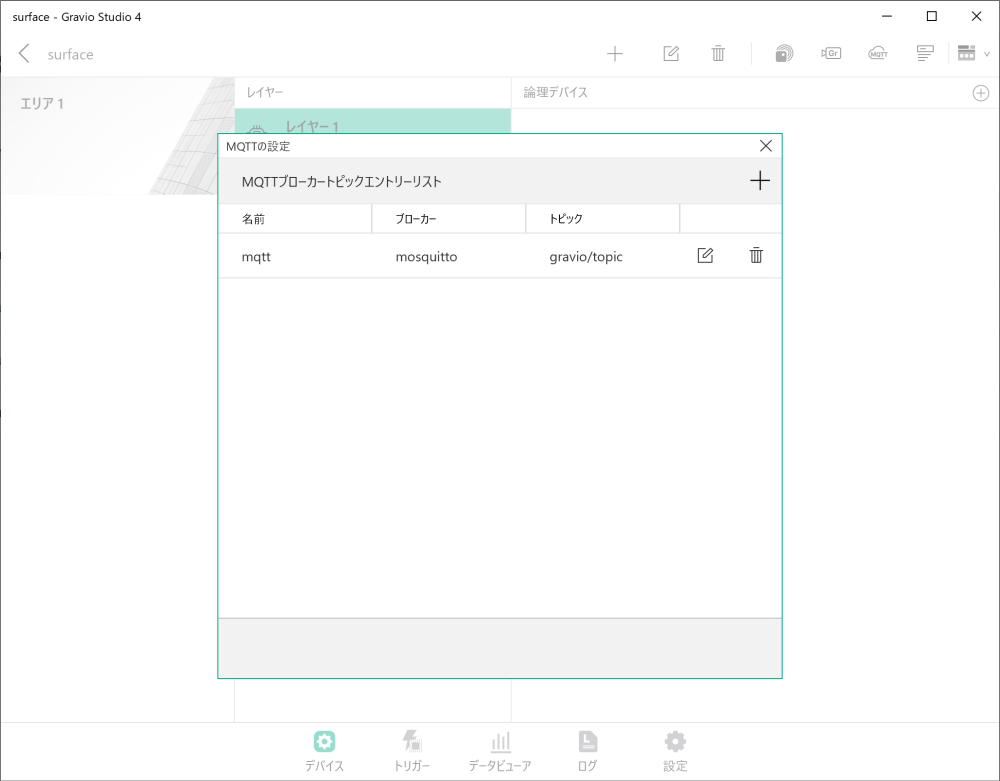
- The saved topic entry will be displayed in the list.

-
Click the "+" button to display the binding settings screen.
-
Bind the configured MQTT to the layer.
-
Finally, turn ON sensor data collection.
3. i-PRO Integration
i-PRO is a surveillance camera sold by i-PRO Co., Ltd. Here's how to integrate with i-PRO in Gravio to receive AI-recognized data.
i-PRO Setup Procedure
- In "Devices," select the i-PRO type (DataKind) to add a new area and layer.
- For i-PRO, select from AI Crowd Detection Face Recognition, AI Motion Detection, or General as the data format to receive.
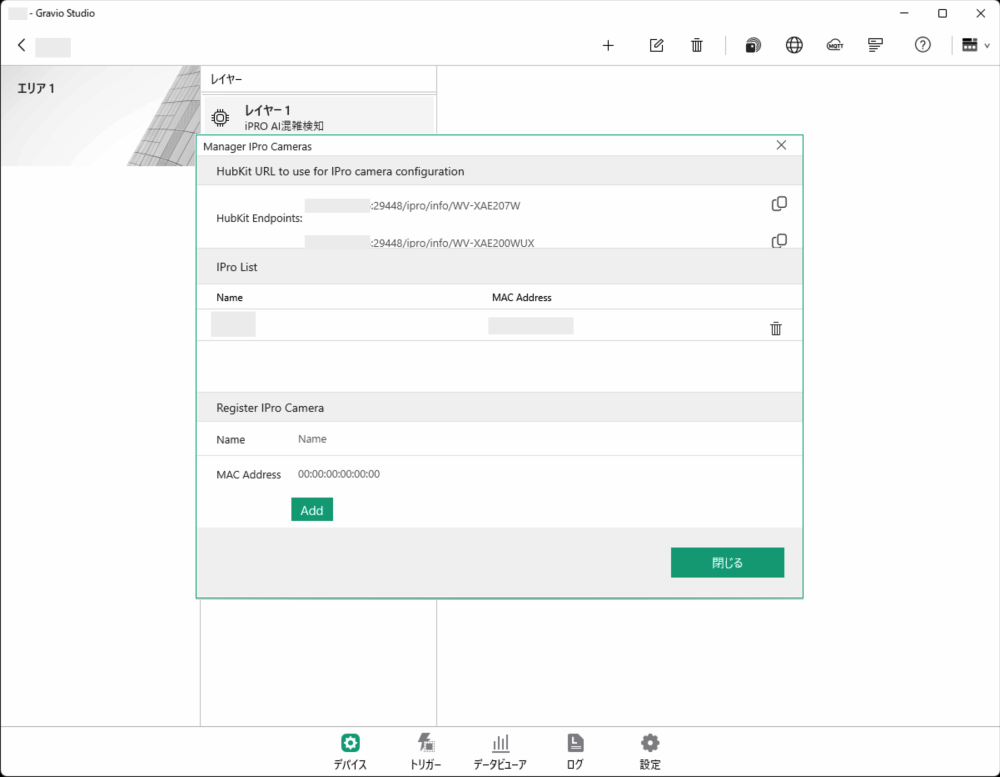
- Click the settings button to display the i-PRO settings screen.

- Enter the i-PRO camera name and MAC address, then click add:
- Copy the HubKit URL to clipboard for registration in i-PRO
- For registration details, refer to "i-PRO Camera Setup Guide"
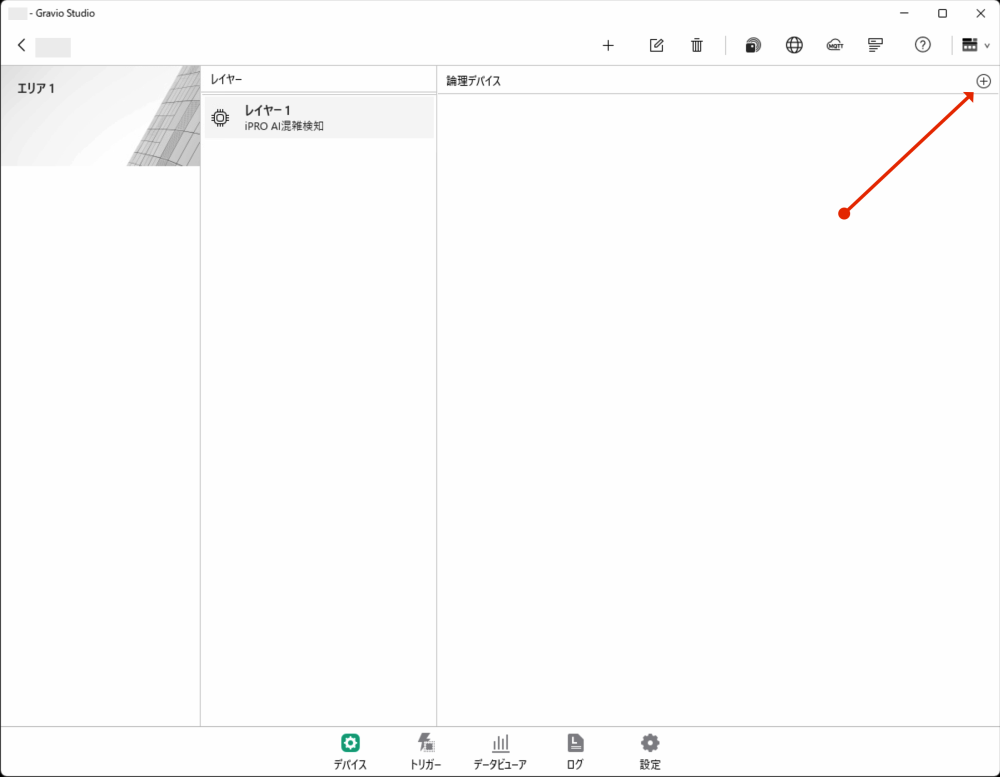
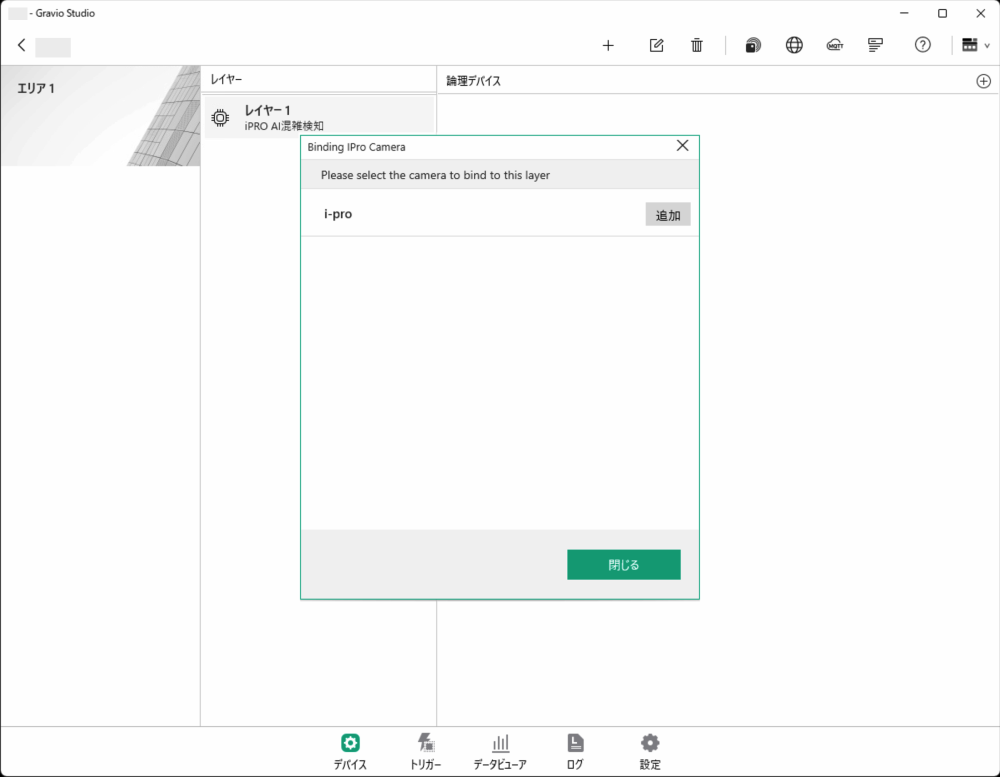
- Click the "+" button to display the binding settings screen.
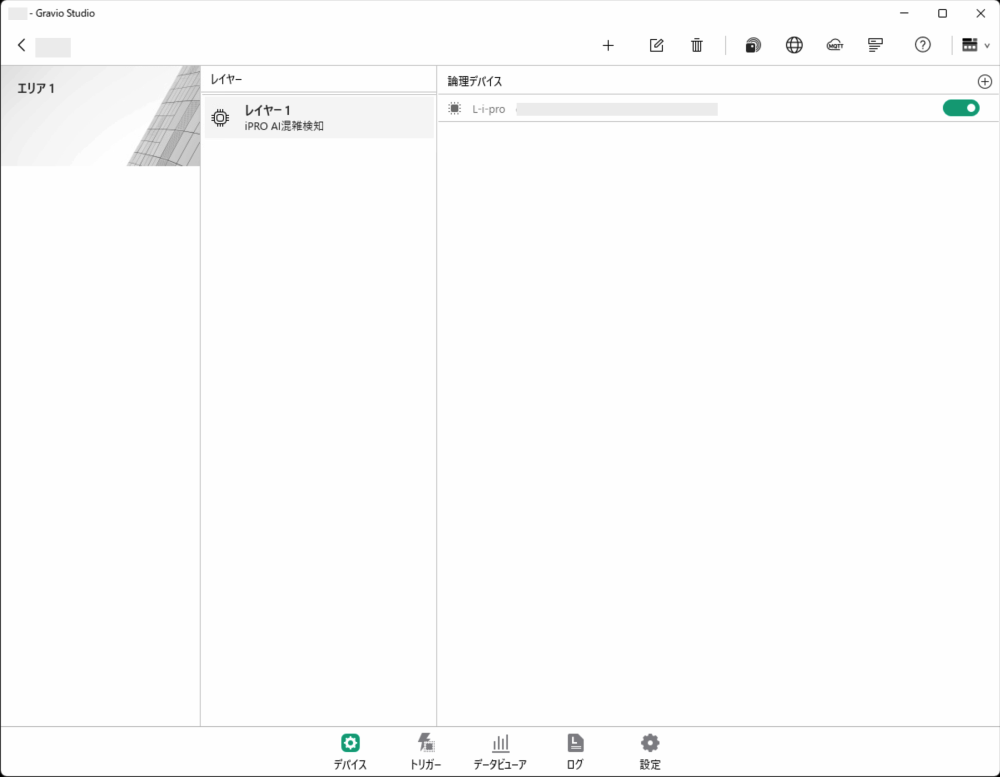
- Bind the configured i-PRO camera to the layer.
- Finally, turn ON sensor data collection.
By following these steps, you can configure external system integration with Gravio HubKit.